PySpark - Module 5.1
Deploying Apache Kafka on a Single Node
Deploying Kafka on a single node is a great way to get started with understanding its core functionalities. This setup involves configuring a Kafka broker along with Zookeeper, which manages the broker’s metadata. In this guide, you’ll learn how to install, configure, and run Apache Kafka on a single node, making it accessible for testing and small-scale applications. This foundational setup will prepare you for more complex, distributed deployments.
Apache Kafka
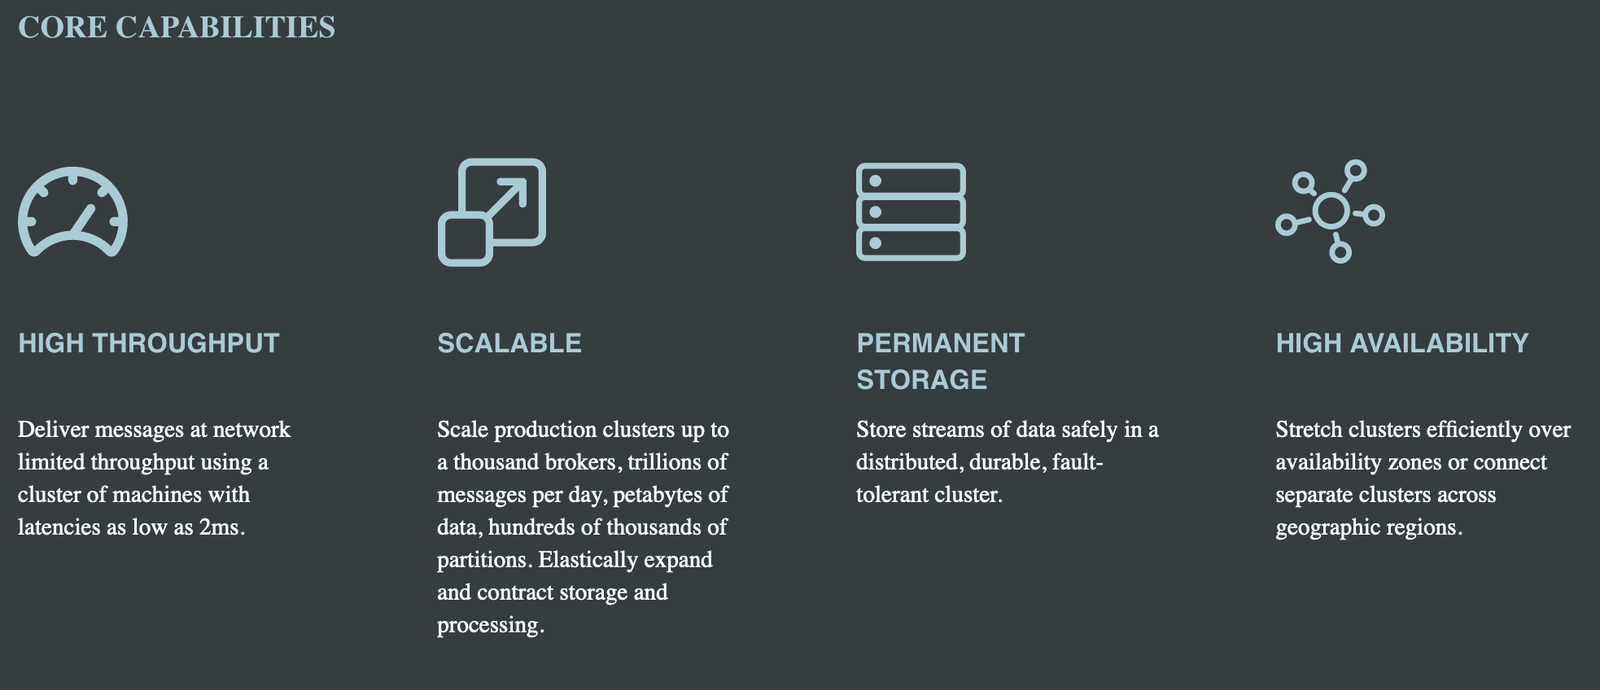
Apache Kafka is an open-source software streaming solution designed for handling real-time data feeds. It ensures events are stored in a durable, fault-tolerant manner, making it reliable for critical applications. Kafka enables the seamless streaming of messages to and from various endpoints, including databases, cloud services, and analytics platforms.
Key Features:
- Durability: Events are stored reliably for future use.
- Fault Tolerance: Designed to handle failures without data loss.
- Scalability: Can manage large volumes of data across distributed systems.

For more insights, check out the YouTube video below.
Setting Up Apache Kafka on Vultr
To set up Apache Kafka on a Vultr instance, follow these steps:
-
Deploy a Vultr Server: Choose a suitable server size and region, then deploy a Linux instance (preferably Ubuntu).
-
Install Java: Kafka requires Java to run, so install the latest version of OpenJDK.
-
Download and Install Kafka: Download Kafka from the official Apache Kafka website and extract the files to your desired directory.
-
Configure Kafka: Modify the server properties (
server.properties) to match your setup. Set the broker ID, log directories, and Zookeeper address. -
Start Kafka and Zookeeper: Start the Zookeeper service first, followed by the Kafka server.
-
Test Kafka: Use the provided Kafka tools to create topics, send messages, and consume them to ensure everything is working.
Before diving into the technical setup, it’s essential to understand why Vultr is a great choice for deploying Kafka.
Why Vultr?
Vultr offers high-performance cloud instances with SSD storage, low latency, and a global network of data centers, making it ideal for running distributed systems like Kafka. Additionally, Vultr’s flexible pricing, easy scalability, and user-friendly interface allow you to quickly deploy and manage your Kafka infrastructure, ensuring you have the resources you need as your data processing demands grow.
While Vultr is an excellent choice for deploying Kafka, other cloud platforms like AWS, Google Cloud, and Azure also offer robust environments for running Kafka. These platforms provide managed services, such as Amazon MSK (Managed Streaming for Apache Kafka), that simplify Kafka deployment and management. Each platform has its strengths, such as extensive integration options, advanced networking, and security features. The choice ultimately depends on your specific needs, budget, and existing cloud infrastructure.
In these series we will go ahead and implement a cost-effective Kafka deployment on Vultr. As your needs grow, Vultr’s easy scalability allows you to upgrade your instance or add more servers to your cluster. Additionally, using Vultr’s block storage for Kafka’s logs can provide both cost savings and performance improvements. Always monitor your resource usage to optimize costs effectively.
A Cost-Efficient Solution on Vultr
- Vultr VPS: Start with a Vultr Virtual Private Server.
- Shared CPU: Opt for a shared CPU plan to keep costs low.
- Location: Choose a data center location close to your target users for better latency.
- Operating System: Select Ubuntu 22.04 for its up-to-date features and stability. (In case you tried a another version of Ubuntu and followed the same process I would like to know if it worked or not!)
- Instance Type: Choose the “25 GB NVMe” AMD High-Performance machine without additional features like auto-backup, to minimize costs.
- SSH Key: Generate and upload an SSH key during VPS creation for secure and easy access.
This setup provides a balance of performance and cost, making it ideal for small to medium Kafka deployments.


For the installation process, we’ll largely follow the guidelines provided in the Kafka Quickstart. This includes setting up Kafka with ZooKeeper, ensuring all services are started in the correct order, and making necessary configurations as needed.
Step-by-Step Installation Guide
- Start by SSHing into a machine:
ssh root@45.63.34.218
- install Java
apt install openjdk-8-jre-headless
java -version
- Download Kafka version 2.13, unzip it and cd into the directory
# Start the ZooKeeper service
wget https://archive.apache.org/dist/kafka/2.6.0/kafka_2.13-2.6.0.tgz
tar -xzf kafka_2.13-2.6.0.tgz
cd kafka_2.13-2.6.0
- We next need to start a service called zookeeper. zookeeper is
bin/zookeeper-server-start.sh config/zookeeper.properties
- Start the Kafka broker service. For that we need to open another terminal session and run:
bin/kafka-server-start.sh config/server.properties
Paraphraze: Once all services have successfully launched, you will have a basic Kafka environment running and ready to use.
Create a topic
Ww already know well that lets one read, write, store, and process events (also called records or messages in the documentation) across many machines. The events are organized and stored in topics. You may consider topics are like folder in a filesystem, and the events are the files in that folder.
So before you can write your first events, you must create a topic. Open another terminal session and run:
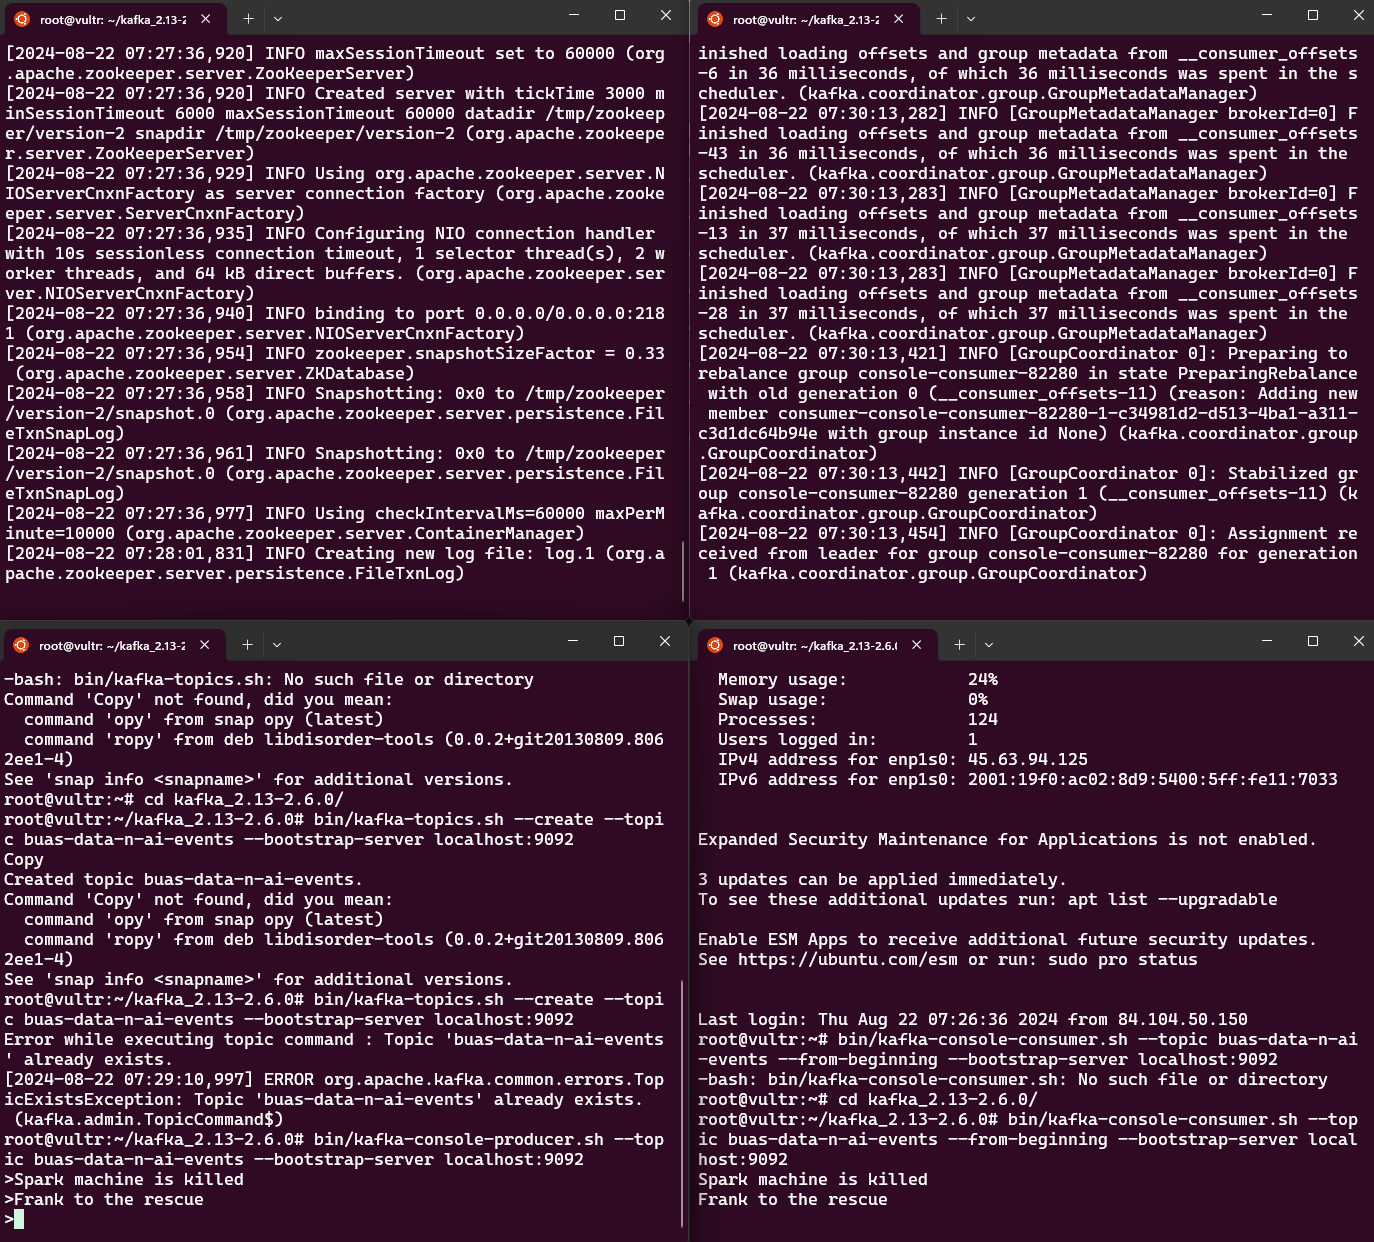
bin/kafka-topics.sh --create --topic buas-data-n-ai-events --bootstrap-server localhost:9092
command breakdown:
- ‘bin/kafka-topics.sh’: The kafka-topics.sh script is an executable and is used to manage Kafka topics. The file is located in the bin directory of your Kafka installation.
- ‘–create’: This flag tells Kafka to create a new topic.
- ‘–topic buas-data-n-ai-events’: This specifies the name of the topic you want to create. In this case, the topic is named buas-data-n-ai-events.
- ‘–bootstrap-server localhost:9092’: Specifies the ‘Kafka server’ to connect to in order to create the topic. localhost:9092 refers to a Kafka broker running on your local machine on port 9092. So now the client (which is executing the command) would connect to the ‘Kafka broker’ running on local machine.
Reading and Writing from/into a specific topic
A Kafka client communicates with the Kafka brokers (via the network) for reading or writing events.
To write events into the topic run the following line in a new shell
bin/kafka-console-producer.sh --topic buas-data-n-ai-events --bootstrap-server localhost:9092
>Spark machine is killed
>Frank to the rescue
from another terminal read the events:
bin/kafka-console-consumer.sh --topic buas-data-n-ai-events --from-beginning --bootstrap-server localhost:9092
Spark machine is killed
Frank to the rescue

Make the Kafka broker accessible externally
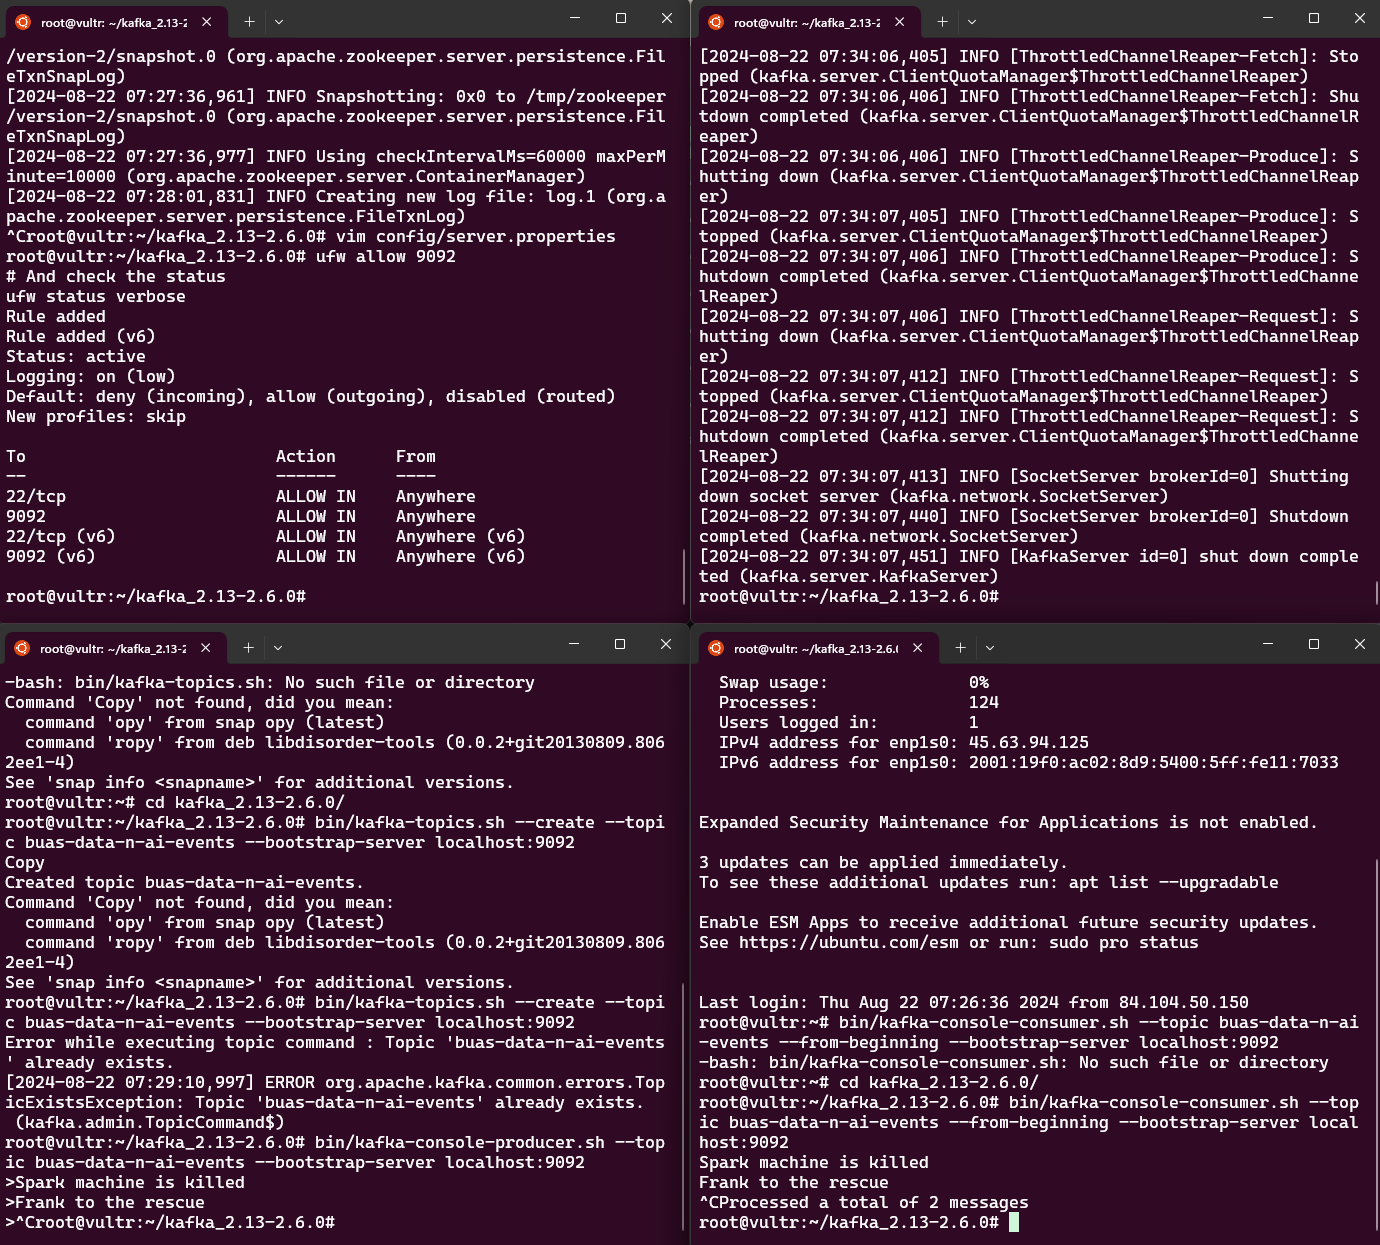
By now, you should have four shell windows open. To stop the running processes, press Ctrl + C and shutdown the services in a reverse order, starting from the last shell. This ensures that any changes made to the Kafka configuration or environment are properly loaded and active. We will then use the first shell (the one that we run the ZooKeeper service) to configure the broker to be accessible externally.
To make the Kafka broker accessible externally we first need to edit the Kafka config file located at ‘config/server.properties’. ZooKeeper service by using the ‘Ctrl + C’ and then edit the server.properties:
vim config/server.properties
👉 Click to learn how to use wim
Navigate to line 36, uncomment and replace ‘your.host.name’ with ‘your host name’: For my case it will be ‘advertised.listeners=PLAINTEXT://155.138.192.245:9092’
Then we need to make port 9092 accessible externally.
ufw allow 9092
# And check the status
ufw status verbose

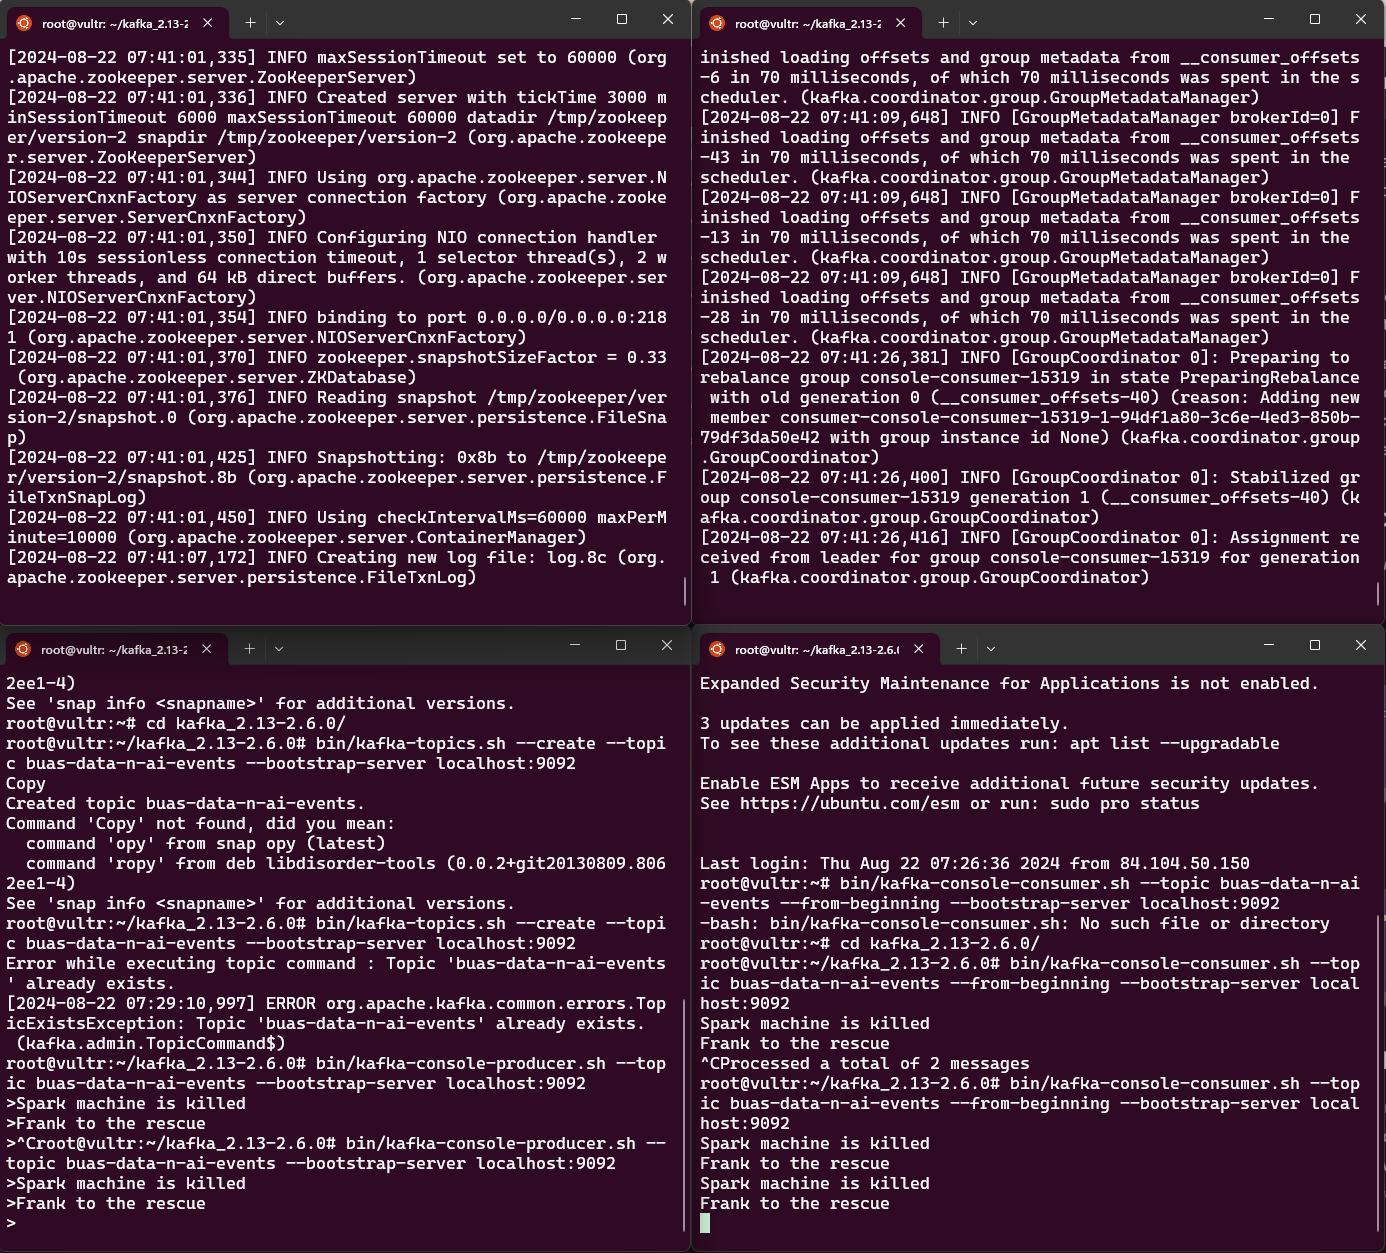
Now activate the services in the same order as before,
# 1 - Restart the ZooKeeper service again.
bin/zookeeper-server-start.sh config/zookeeper.properties
# 2 - Restart the kafka server again.
bin/kafka-server-start.sh config/server.properties
bin/kafka-console-producer.sh --topic buas-data-n-ai-events --bootstrap-server localhost:9092
# 4 - Restart the kafka server again.
bin/kafka-console-consumer.sh --topic buas-data-n-ai-events --from-beginning --bootstrap-server localhost:9092

Extra reading material: Read through the brief introduction to learn how Kafka works at a high level. The article covers the main concepts of Kafka and compares it to other technologies. For a more detailed understanding of Kafka, refer to the official documentation.
👉 What is a Kafka server?
👉 What is a Kafka broker?
👉 What is a Kafka client?
👉 How to ensure stability and reliability of running Kafka in the background?
Using systemd (or another init system like init.d) to manage Kafka as a service is generally the most stable and robust option. Systemd is designed to manage system services, ensuring that services like Kafka start automatically on boot, restart on failure, and remain running independently of any user session.
What we did in this tutorial runs Kafka in the foreground within the SSH session. If you close the SSH connection (e.g., by exiting the terminal or using Ctrl+C), the Kafka process will be terminated.
systemctl start kafka   # Start Kafka Service
systemctl enable kafka  # Ensures Kafka starts on boot
systemctl status kafka  # Check the status of Kafka
To be able to use systemd you first need to create a kafka service file and configure it. Then you need to reload systemd daemon to recognize the new service.
To create a systemd service file for Kafka use vim and place the file at /etc/systemd/system/kafka.service.
sudo vim /etc/systemd/system/kafka.service
In the file, add the following content. Make sure to adjust paths to match the Kafka installation directory:
[Unit]
Description=Apache Kafka Server
Documentation=https://kafka.apache.org/documentation/
Requires=zookeeper.service
After=zookeeper.service

[Service]
User=kafka
Group=kafka
ExecStart=/root/kafka_2.13-2.6.0/bin/kafka-server-start.sh /root/kafka_2.13-2.6.0/config/server.properties
ExecStop=/root/kafka_2.13-2.6.0/bin/kafka-server-stop.sh
Restart=on-failure
RestartSec=10
TimeoutSec=180

[Install]
WantedBy=multi-user.target
Then reload systemd daemon before starting kafka service:
sudo systemctl daemon-reload
We need to create a Zookeeper service file just like what we did for kafka server.
wim /etc/systemd/system/zookeeper.service
[Unit]
Description=Apache Zookeeper Service
Documentation=https://zookeeper.apache.org/
After=network.target

[Service]
Type=simple
User=root
Group=root
ExecStart=/root/kafka_2.13-2.6.0/bin/zookeeper-server-start.sh /root/kafka_2.13-2.6.0/config/zookeeper.properties
ExecStop=/root/kafka_2.13-2.6.0/bin/zookeeper-server-stop.sh
Restart=on-failure
RestartSec=5

[Install]
WantedBy=multi-user.target
sudo systemctl daemon-reload
sudo systemctl start zookeeper
sudo systemctl enable zookeeper
Congratulations! You have successfully finished the Apache Kafka installation. Now, your Kafka broker is up and running, ready to handle real-time data streams. This marks a significant milestone in setting up your data processing pipeline. Next, you can start creating topics, producing and consuming messages, and exploring Kafka’s powerful features to build scalable and resilient data systems. If you encounter any issues or need to expand your setup, consult the Kafka documentation or explore advanced configurations to optimize your deployment.